
Workflows
A task is a one-off. A workflow is a job you do the same way every time, laid out once as a set of steps so you never have to describe it again.
Good candidates: the Monday report. Triaging the support inbox. Turning a finished recording into a transcript, a summary and a set of clips. Anything where you find yourself typing almost the same instruction for the third time.
Choose WORKFLOWS along the bottom of the window.
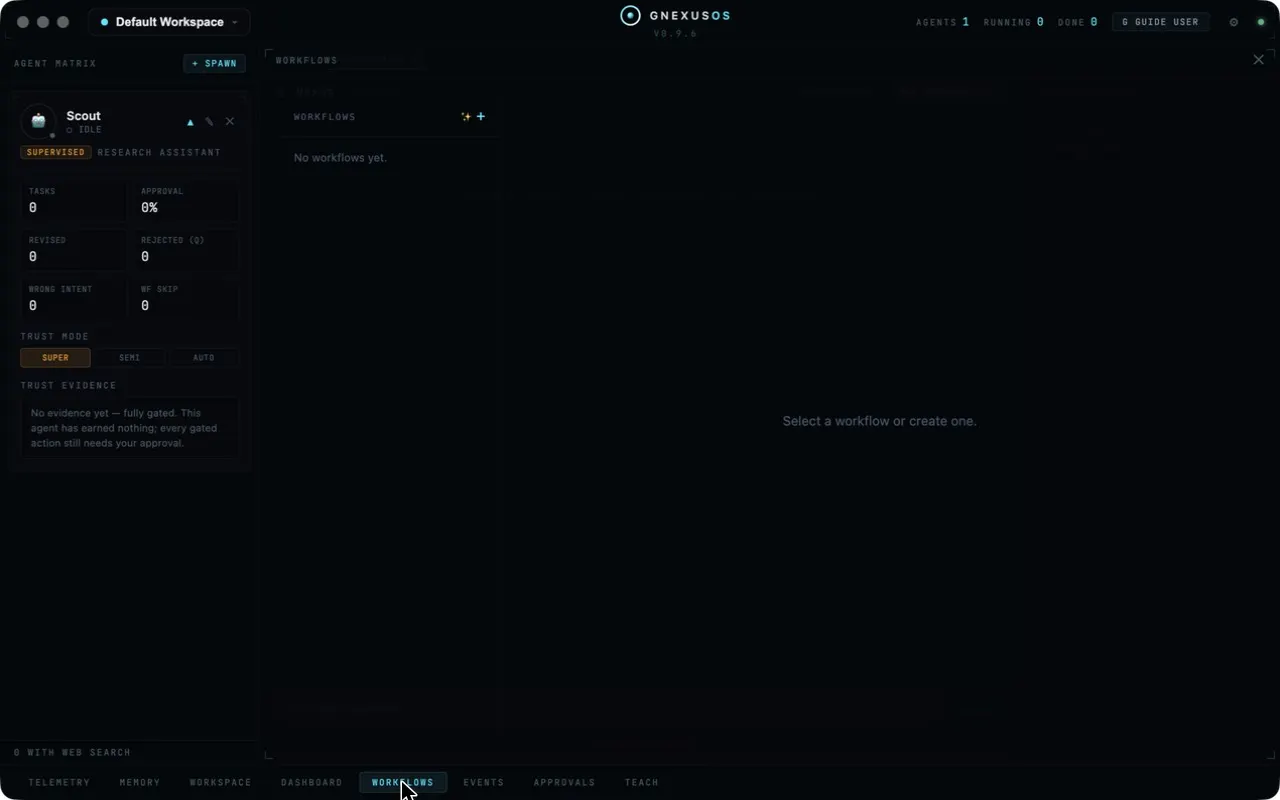
You start with none. Use the + to make one.
When a workflow is waiting on you, the WORKFLOWS button carries an orange badge with the count, in the same way the approvals button does.
What starts it
Every workflow needs a trigger. There are five:
| Trigger | When it runs |
|---|---|
| ⚡ Manual | Only when you say so |
| 📅 Scheduled | On a timer, daily or weekly |
| 🔗 Workflow | When another workflow hands off to it |
| 📡 External Event | When something happens on a connected platform |
| 📞 Call Completed | When a phone call ends |
Call Completed needs telephony, which is not switched on in shipped builds. If your version offers it, nothing can fire it. Ignore it.
Start with Manual. Build the workflow, run it by hand a few times, fix what is wrong, and only then give it a trigger that fires without you.
About scheduled workflows
Choose daily or weekly, then a time — and for weekly, a day.
The panel carries a warning you should take literally:
⚠ Scheduler only runs while the app is open.
GNexusOS is a desktop application, not a service running somewhere else. A workflow set for 7am will not run if your Mac or PC is asleep and the app is closed. If something genuinely has to happen whether you are there or not, a scheduled workflow is the wrong tool.
Building the steps
A workflow is a diagram. You add nodes and connect them.
There are two kinds of node:
+ ACTION — an agent does something. You give it:
- Step Name — what this step is called, for example Route Email or Summarise Report.
- Agent — which agent does it.
- Instruction — what it should do, in your own words.
- Output Type — the kind of result, as in the dispatch bar.
- Target Resource ID (optional) — paste an existing resource to write into, or leave blank to create something new.
- Next Step — where to go afterwards. This can be another step, or a different workflow entirely.
+ DECISION — an agent decides something, and the workflow branches. You give it a name, an agent and an instruction phrased as a question. Then you add branches, each with a label like Yes, No or Approve, and each pointing at the step or workflow that follows.
AUTO-LAYOUT tidies the diagram when the boxes have wandered.
When a workflow pauses
A running workflow can stop and wait for you. When it does, the pending item offers:
| Button | What it does |
|---|---|
| APPROVE | Let the step go ahead |
| SKIP | Move past this step without doing it |
| CANCEL | Stop the whole run |
At a decision point there is also an override field. Type the label of the branch you want and choose OVERRIDE to send the run that way regardless of what the agent decided. This is the manual steering wheel — useful when you can see the agent is about to take the wrong turn.
Run history
Underneath the pending items is RUN HISTORY: every time this workflow has run and what happened.
Read it after the first few runs of anything new. A workflow that fails in the same place every Monday is telling you something specific, and the history is where you see the pattern.
A sensible way to build one
- Do the job by hand with the dispatch bar two or three times first. You learn what the steps actually are.
- Build it as a Manual workflow with those steps.
- Run it manually and read the run history.
- Add a decision node only where you genuinely found yourself choosing.
- Give it a real trigger last.
Workflows built from a job you have actually done work. Workflows built from a job you imagine doing usually need rebuilding.
Related
- Dispatching work — the one-off version.
- Approvals — the other queue that waits for you.
- Connections — what you need before an external-event trigger can work.